Both downloading to your computer and choosing and saving on my website are easy, you just have to start. Go ahead... today is the day.
Making your Album Online
Choosing Album Photos Using the Website
Ok, we've made it through the rehearsal, the ceremony, and the party. Photos are done and now it is time to make an album. You are in the right place. If you follow along here, you will be able to choose photos for your album without downloading them, you can do it from your phone, tablet, or computer. When you're done, I will be able to see the three folders you've created with the photos you've chosen. Then it's my turn to make magic, and produce a STUNNING album.
You're on my website, go the BLOG dropdown, and find your event. I will use Marley's Bat Mitzvah.
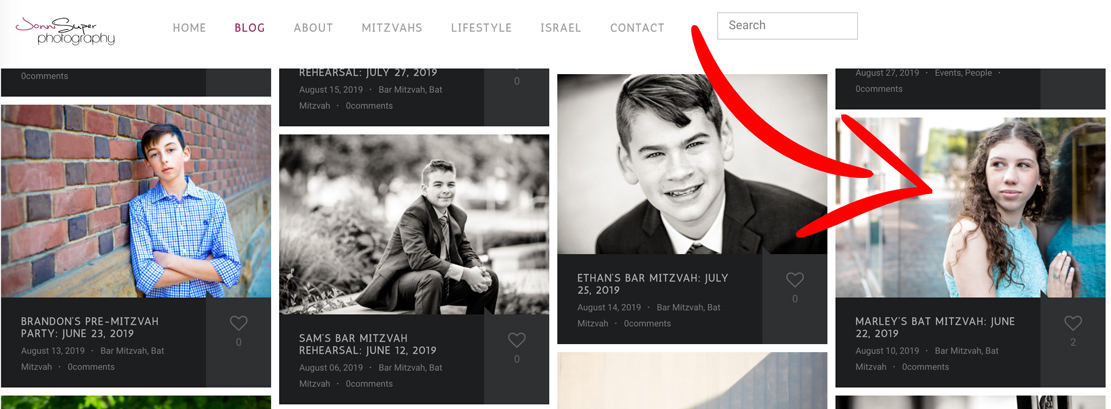

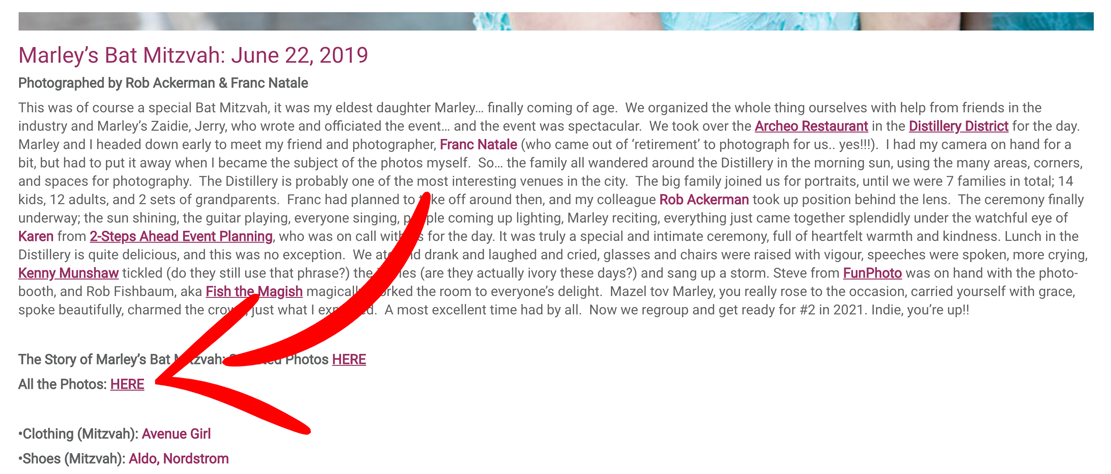
Click on your event, below the photo you will find a link to 'All the Photos HERE'. Click it.

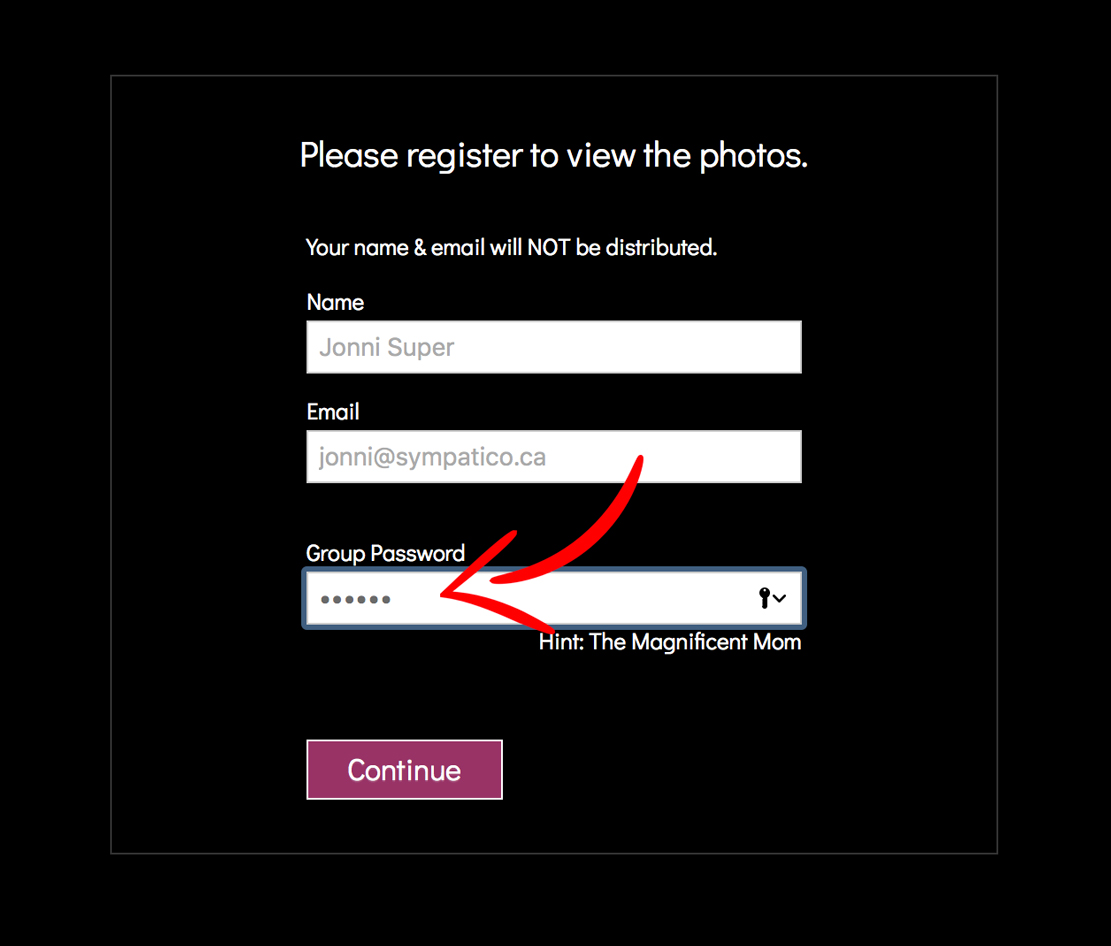
Login with your name and the password you were provided to enter the secure portfolio.

This will bring you into your portfolio where all the photos have been sorted into groups.
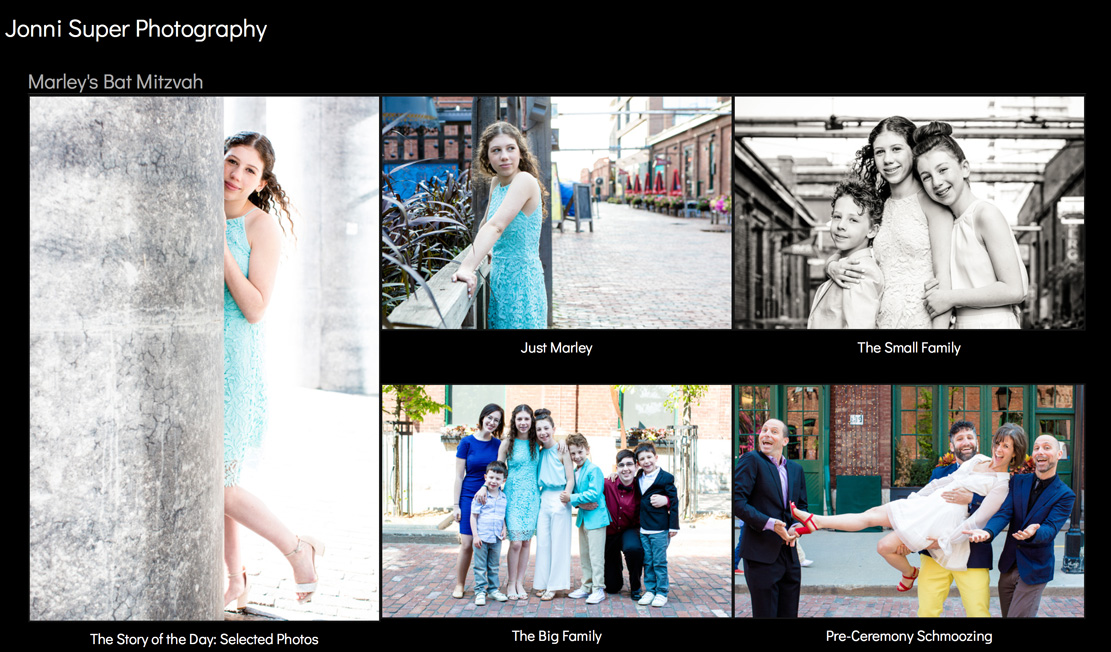

Click on a portfolio, I chose 'Just Marley'.
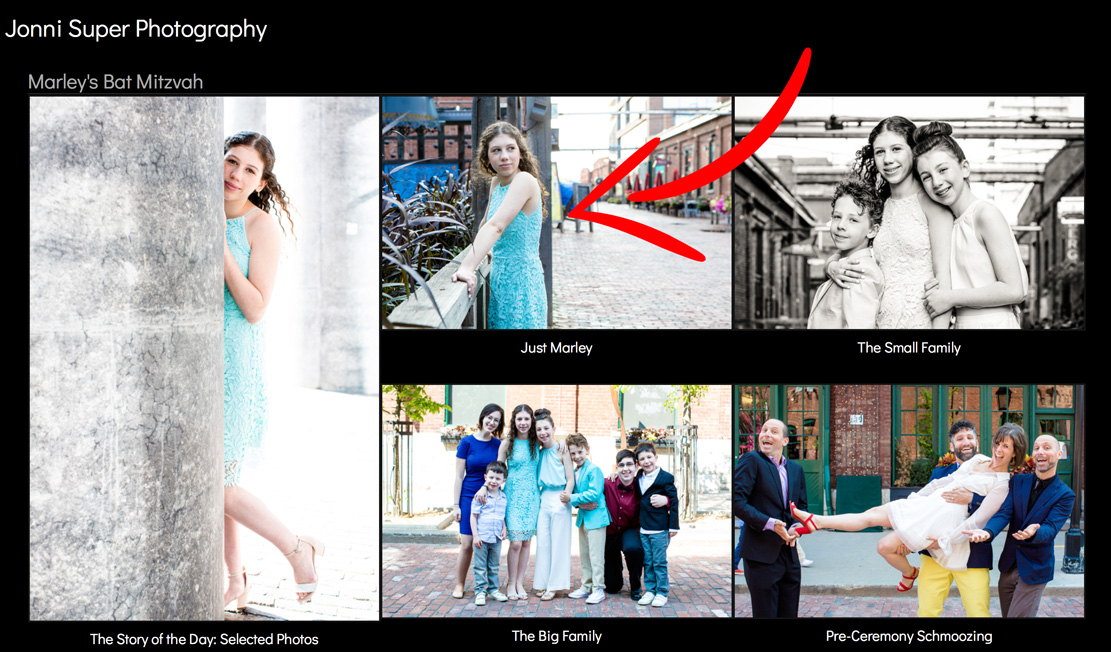

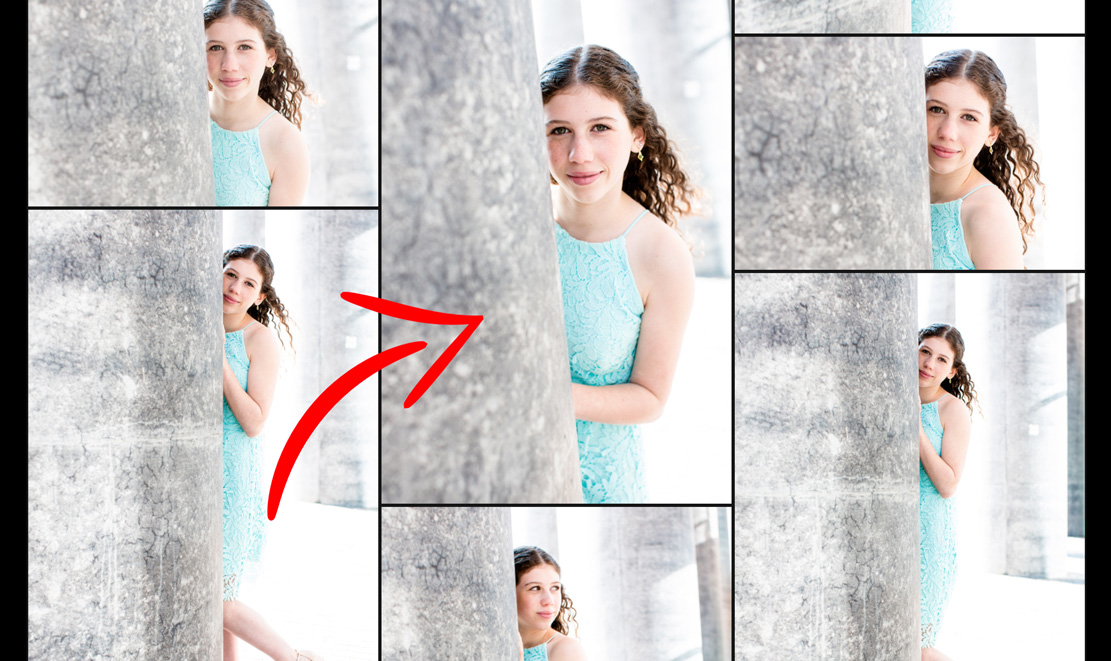
Click on any picture in the portfolio. It will get larger.

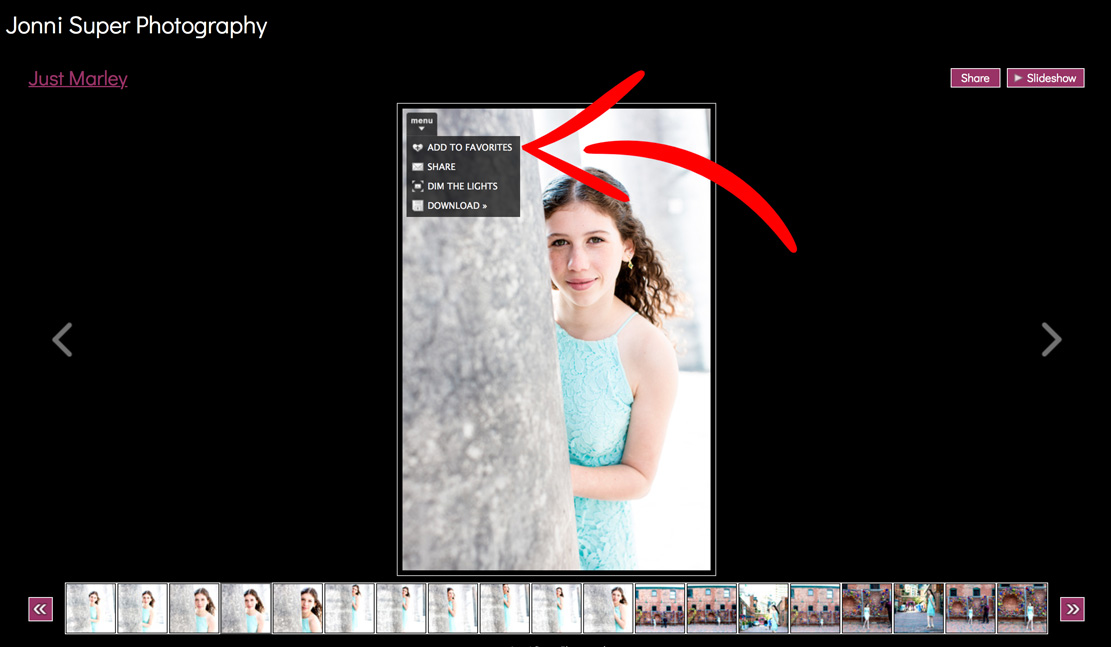
The larger photo will have a dropdown in the TOP LEFT CORNER. Hover over the ADD TO FAVOURITES link.

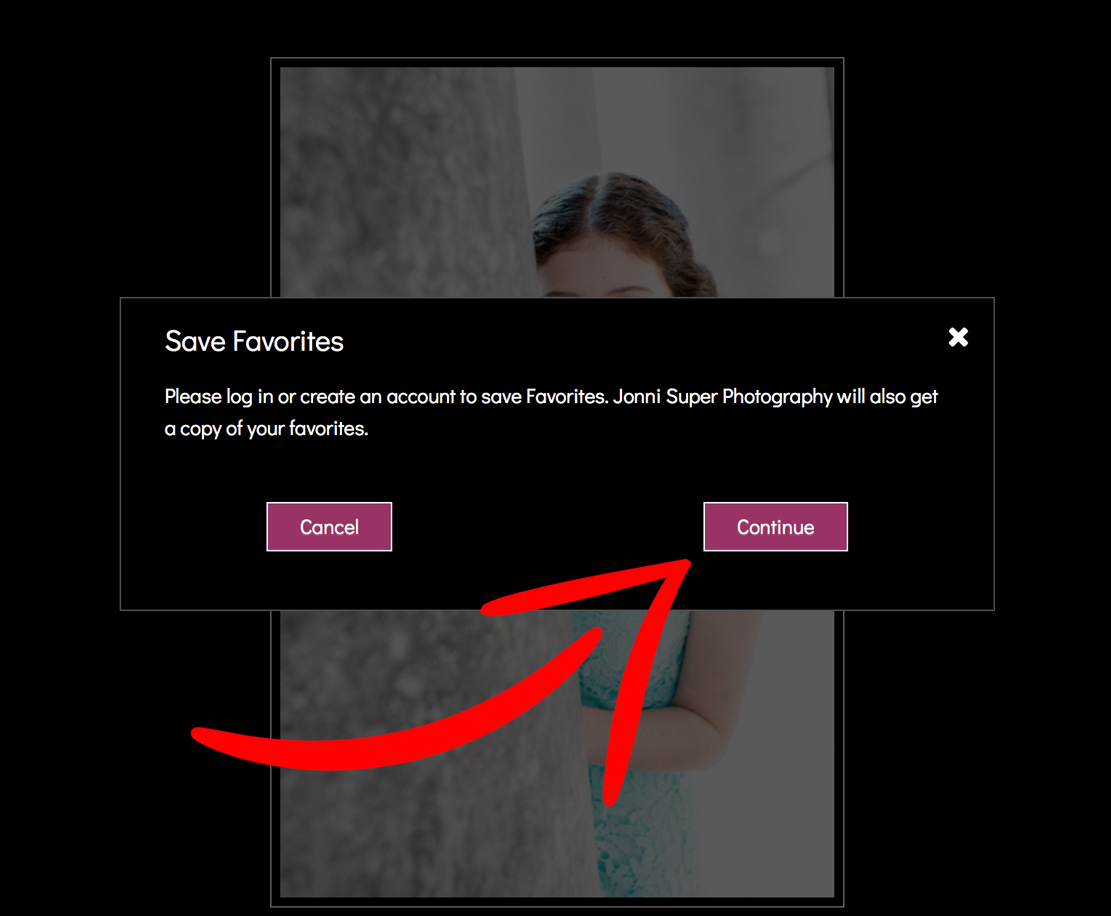
You'll see a screen which says 'Save Favourites', click CONTINUE.

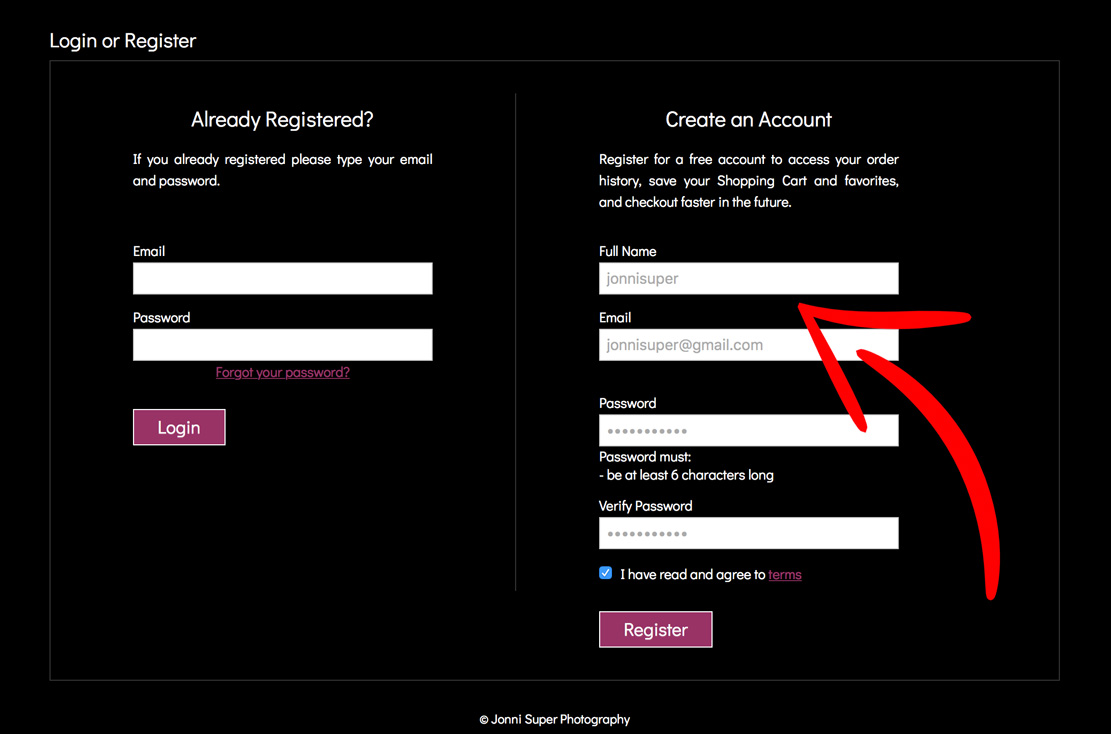
Either log in or make a new account. I made a NEW ACCOUNT.

It then says that Selected Photos have been added to your Collection. We're on our way...

When all is done, you should have approximately 80-120 photos in your folders. Then email me and let me know you've chosen, and I will take a look.
It's pretty straight forward. You can add and delete photos and keep going until you are happy.
Connect if you get lost, happy choosing.
.